Pages

Showing posts with label decor. Show all posts

Tissue Paper Pom Pom's

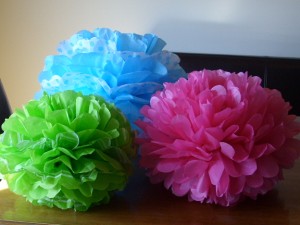
A lot of you might already know how to make these, but this is for those of you who don’t, here is the tutorial I promised. Cute colors, huh?! So Bright and Springy!
Paper Crafts 010

to make them different sizes, Just cut more of the tissue paper off the ends if you’d like them to be smaller.
Paper Crafts 002

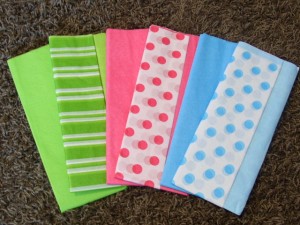
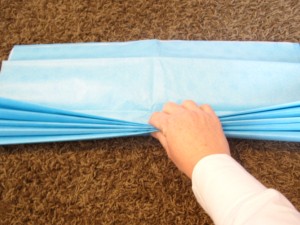
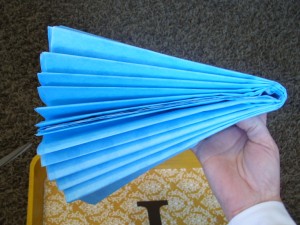
Start with 10-12 sheets of paper. I put some of the polka dot blue paper in with the solid blue (2 solid, 1 dot, 2 solid, 1 dot, 2 solid, 1 dot, 1 solid). Stack the sheets on top of each other and start folding accordion style. Folds should be about 1 1/2″ wide. If you’re making smaller poms make the fold width about 1″ wide.
Paper Crafts 003

Once you’re done, fold the paper in half just to find the center of the paper.
Paper Crafts 004

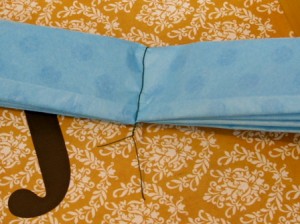
Cut a piece of wire 6″-8″ long. Put the wire in the center of the paper and twist the ends together to keep the wire in place. This will be in the center of the pom.
Paper Crafts 001

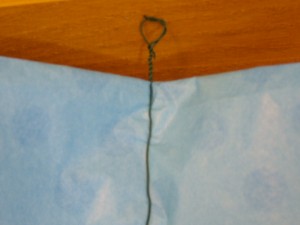
Make a loop with the ends of the wire. Put ribbon, string or fishing line through the loop, when you’re finished making the pom, to hang it by.
Paper Crafts 005

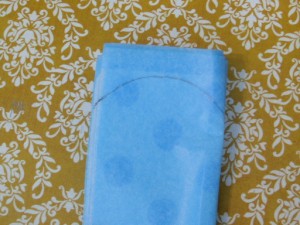
Draw an arch or semi-circle at each end of the paper to form the petals.
Paper Crafts 006

Use sharp scissors and cut through all the layers of the tissue paper.
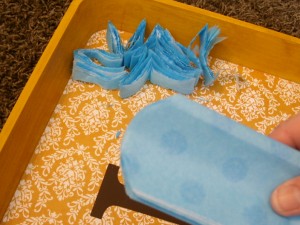
Paper Crafts 007

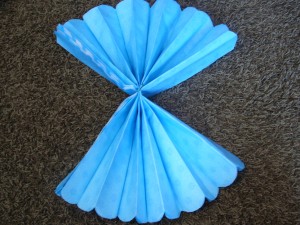
Fan the paper out like this

Paper Crafts 008

Then start pulling the papers up (towards the center) to form the pom, one sheet at a time. You need to be careful so you don’t tear the paper. Be gentle at first, you can make adjustments later. This picture is half a pom.
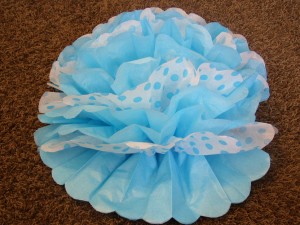
Paper Crafts 009

Fluff and make adjustments to the poms till they look the way you like. The pink one is all solid sheets and the green one is 7 solids and 3 stripes.
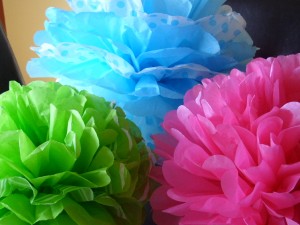
Paper Crafts 011

So fun and add color to any decor :)

Paper Crafts 012

It looks like Spring on my table :) Let me know if you have any questions and this doesn't make sense. If you want to just buy them instead of make them, I found a cute shop on Etsy called "Party Pom Pom's" that sells them.

my new Office...

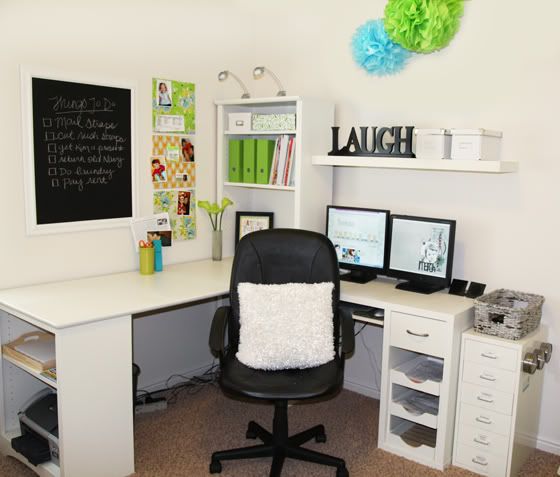
Since I have been so busy with my Etsy business, I decided that I needed a proper work space to keep track of my orders and be organized. So- I bought this desk on ksl (which my dad had to drive all the way to Murray for...THANKS DAD) and it was a yucky brown color, so I painted it white. Which took about 3 coats...FOREVER :) But totally worth it because I love how it turned out. I love things that are white. So now, my space is bright and happy and I love being in it now AND best of all it is super functional!

Of course I did this all on a tight budget :) Thought I would share where I got stuff and how to di stuff for cheap in case any of you need some remodeling ideas. The desk/book shelf was the desk I got from KSL for only $100. To buy one new would have been AT LEAST $700. The white shelf and tiny 6 drawers cabinet was Ikea. The lights on top of the bookshelf were also Ikea. I made the fluffy pillow for my chair :) Also made the cute hanging crepe paper lanterns for a pop of color. THANKS Kim for telling me how to make them ! If anyone wants to know...just leave me a comment and I will share.


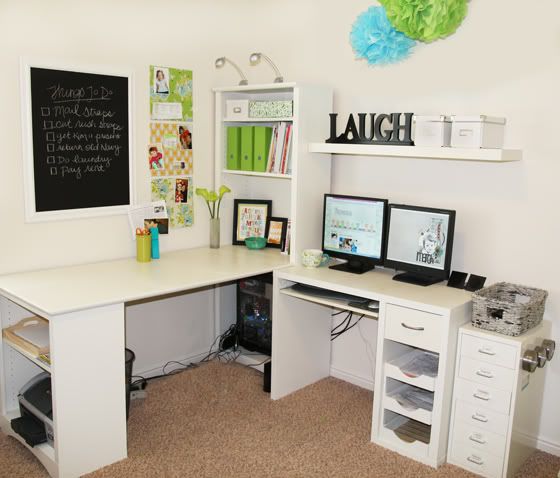
Here is a view without the chair in the way...I need a cord organizer :)


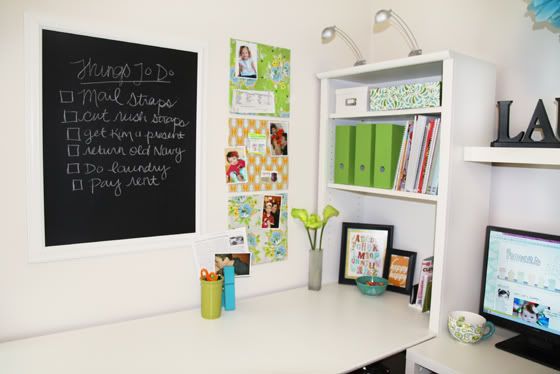
For the chalkboard I bought a cheesy picture from the DI with no glass on it and painted it with chalkboard paint...works SO GREAT and I didn't even have to paint the frame only $4. The large clothes pin, green pencil holder, cute flowers and my cute hot coco mug are all from Hobby Lobby. Oh and the "laugh" sign. Love that store :)


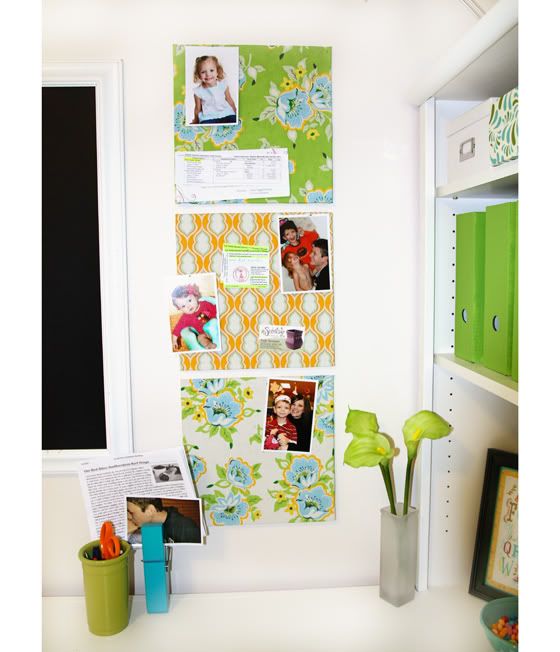
I made the bulliton boards from little bulliton squares that I got from walmart and covered them in Heather Bailey's new "Nicey Jane" fabric line. So happy and springy.


My favorite thing....tropical skittles and mike and Ikes :) gotta have treats while you're working!


I got the pictures from Etsy and the 3 shelf organizer from the DI and painted it white and then I lined it with scrapbook paper to make it cute and colorful. It fits just PERFECT in my desk.

I painted the green magazine bins green to match. I couldn't think of a more perfect set up for me and it makes me happy :)

Piper's Finished Nursery

I have had a few of you, who are going to be having little girls, ask me for pictures of my nursery. And I realized that I never posted finished pictures of it! So, here it is finally, and I really like how it turned out. I can't paint the walls because we are renting, so I wanted just lots of injections of color everywhere. It is a happy bright fun space. Sorry, not the best pictures...I was in a hurry.

So- I am gonna give you the break down of everything and where I got it. I LOVE LOVE this dresser...my favorite piece in the whole room. I found it on KSL a few years back and it is just a SOLID good piece of furniture. Painted it this apple green color and painted out the hardware white. Such a great modern piece now after it's been painted. PLUS it has SO MUCH storage. There are 9 drawers and it can hold all her stuff! I just threw a changing pad with some non-slip backing on the bottom and it turns it into a changing table. I made the vinyl of her name...wanted something simple and modern. and I made the pictures in Photoshop. A pear and apple with birds inside...I like that all the pictures are BIG and make a bold statement.
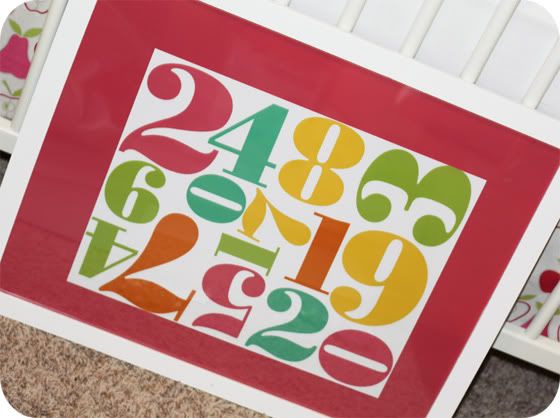
The chair I have had forever all the way back to Mckay, not my favorite, but I don't have the money to get a new one. SOOOO I made pillows for it and got a green throw from Ikea for $4. The Owl on the Grey pillow is so cute and is an applique from Joannes. I got the lamp from the DI for $2 and painted the shade. And I got the table from the DI for $3 and painted it gray. I also LOVE the numbers picture. I printed all the pictures out and got some cheap frames from Ikea (only $4 a piece) and painted them white. I am all about having no money and trying to make it cute anyways...you just have to see the potential in stuff....like that awesome dresser :) The pink rug I got on clearance at Target for only $8 and it matches perfect and was BIG.

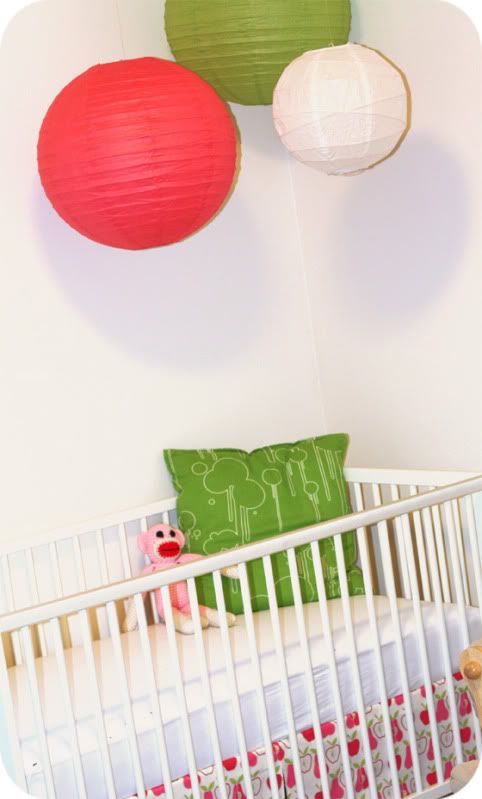
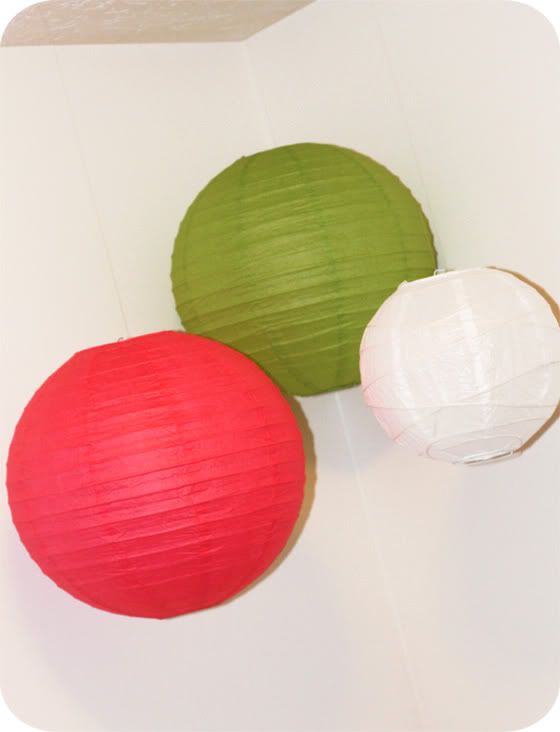
The Crib is Ikea. Only $100. I like it cause it is low and modern. I made the bed skirt with Micheal Miller's cute pear and apple fabric. She has 2 cute little sock monkeys in her bed you can't see. I LOVE sock monkeys. The hanging lanterns are Ikea and only like $4 a piece. They have lots of different colors and sizes. I just hung them with clear fish wire at different lengths.
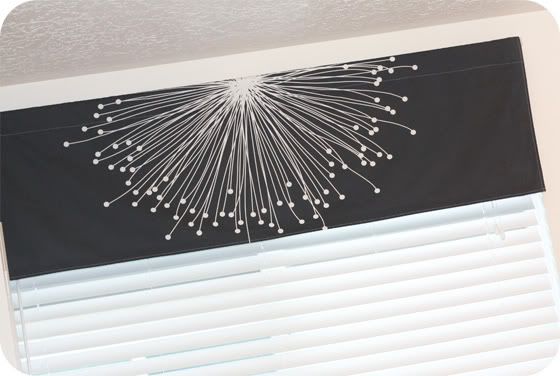
I made the curtain valance from Ikea fabric and then bench is from there too. Which, I have had forever and just sprayed white and then covered it with foam and that pink fabric. I made the pillows and the cute hippo is from Ikea. Can you tell I love that store. hehe.They have tons of cute stuffed animals for way cheap. The bench is usually filled with blankets and formula and toys...but they are all in bins so it doesn't look cluttered. I am all about things looking clean and not cluttered.

So, there it is. It was a lot of work and a LOT of fun...yes there are a few things I would change if I had more money, BUT I think for being on a tight budget I got a look that I love!

p.s. Here are some close ups of her nursery from another post.... http://ckhowefamily.blogspot.com/2009/09/sneak-peek.html

Sneak Peek...

Here is a look at what I have done on the nursery so far....BARELY ANYTHING! She could be coming any day now and I don't even have her clothes out in the dresser or the dresser painted for that matter! I still need to do bumper pads for the crib, some vinyl and to finish her
bench, but you can kinda see a little bit in the direction that I am going :) I wanted something simple and modern and cheap! I have done this whole nursery INCLUDING the crib for about $150 just because I made almost everything to keep the cost low :) Lots of work, but worth it and super fun! I will post pictures when it is all done...hopefully before she gets here. Thanks babe for all your help and patience!


**UPDATE ON PIPER and I**

This is officially the LONGEST I have ever been pregnant...WAHOO! My Dr. only gives me another week tops, but I am still pretty darn excited to have gone this long. I have totally dropped if you can see my belly, I am 80% effaced and dilated to a 2. Plus, I am super sick and having LOTS of contractions. So, it should be any day now. I hope she is healthy. THANKS to all of your well wishes! :)

New Sewing Room & Howe Happenings...

I decided I REALLY need to get back into the habit of posting on my blog more! I have just been so busy lately with Etsy and I need to get on and check everyone's blogs, clean my house and just CHILL!

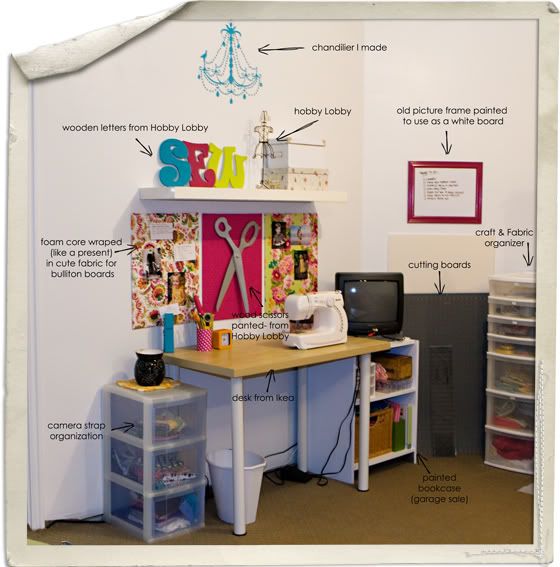
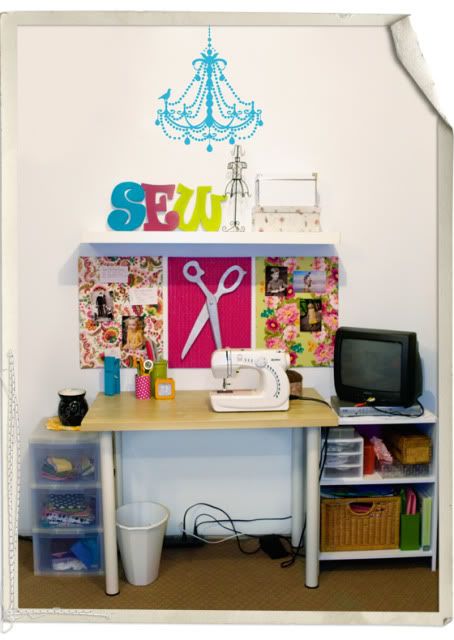
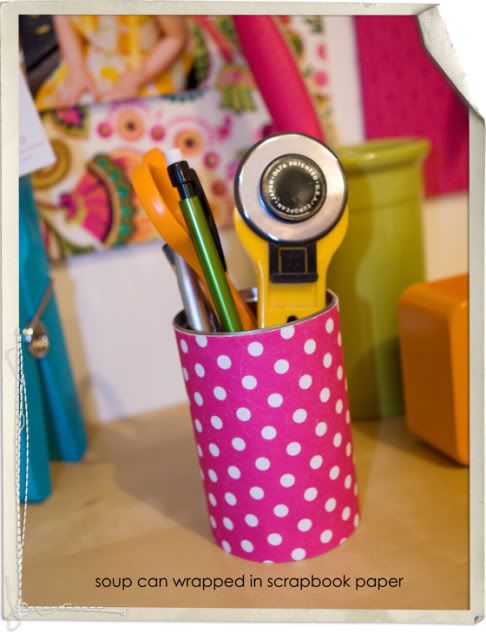
So- my house has been a DISASTER with all my sewing projects i've been doing lately, so I decided I really needed a designated sewing area since I will be doing lots of projects now. Since space is limited, we came up with the 2-car garage...which has worked PERFECTLY because we don't park our cars in it. There is SO much room and it is nice and cool out there. Here are a couple pictures of the finished project. The pictures aren't super cute...I wish you could see it in real life cause I really like how it turned out and it is so super functional for me. PLUS- I had a lot of the stuff already...just needed to add the cutesy touches and it was WAY cheap.

I always hate it when people find cute things and never say where they got them from- so I though I would share with you all in case you are doing a project on a budget too.

On the opposite side of this (behind where I sit) is my ironing board and a nice cushy chair for the kids to sit in and watch a show or Craig to hang out with me. There is LOTS of room for me to spread my projects out on the floor and cut things too. The carpet is from my other house when I had a studio.
I am happy it is all done and super organized finally-now my house wont be covered in scraps of fabric anymore :)

These bulliton boards only cost a total of $7 including the fabric. There are just 1/2" foam core from Walmart wrapped like presents with cute fabric - the fabric is secured with duck tape on the back of the boards. Then I nailed the boards to the wall and I use fabric pins to hang stuff on them. Would be way cute for an office or maybe a kids room too.
---------------------------------------------------------------------------------------------

SOME OTHER THINGS WE HAVE BEEN UP TO:

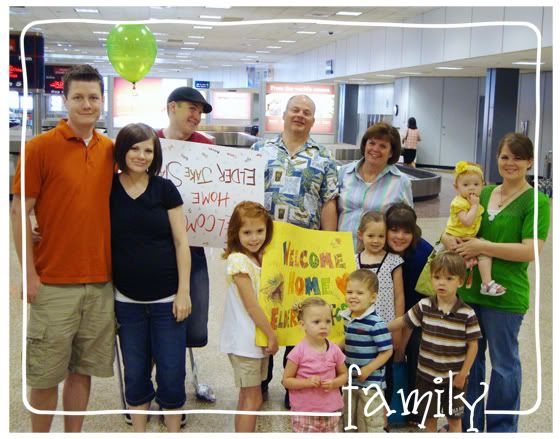
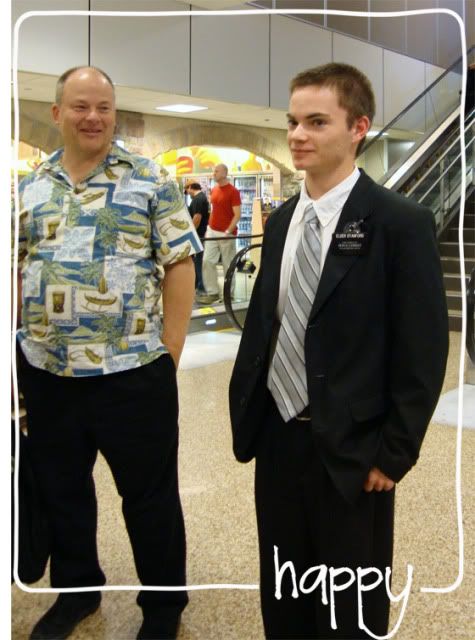
My brother Jake came home from his mission, so we went to pick him up from the Airport. It was SO great to see him :) and we are so proud of him!

Can you see how happy my dad looks...Thanks Kim for letting me steal these pictures from your blog. Being a photographer and all you would think I would bring my camera more places!

-----------------------------------------------------------------------------------------------------------

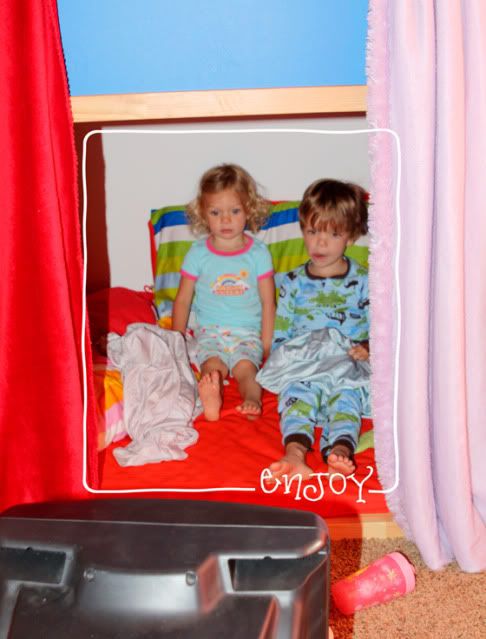
Since it has been so rainy lately we have had to be creative keeping the kiddos entertained. Mckay loves building tents...but even more than tents he LOVES HE-MAN!
Which, I loved when I was a little girl. I was the BIGGEST tom-boy ever. All I watched was GI-Joe and He-man and played with action figures. So we built them a tent under their bed and they watched He-man...


"I have the power"....wow I am a nerd.

That is what we have been up to in a nut-shell....hope everyone is having a fun summer so far! We are going to see the new Transformers tonight and I can't wait!

ps.I just finished my friend Kristin's rag quilt, so if you want to learn how to make one, I will be posting pictures and instructions in the next couple days- so check back :)

Some Fun Projects...

First off, I have to say THANK YOU so much to everyone who made me feel so much better about my kiddos acting up. I am so glad to hear that some of you have kids that act up sometimes too. Thanks for the tips...I really appreciate you all so much and taking the time to come and make me feel better :) You're all the best! And hopefully I won't have another melt down like that for a while. hehe. We all deserve a turn right? :P

Well, on with this week. I decided I really like to have projects. I think it drives Craig crazy cause there is always some new thing I want to do or try. I think it is because we haven't had TV since we have moved into this house. No Office, 30 Rock, Heroes, 24, Chuck....ALL my favorite shows :( I am really missing them, but I decided that I REALLY enjoy sewing and so I have been doing lots of it lately. I made some cute headbands for Ky and I, there is a GREAT pattern from "Heather Bailey" HERE is the link.

I saw them on Elizabeth Kartchner's blog and had to make them. The fabric for mine is also Heathers line of fabric...I believe it is called "Pop Garden". I LOVE her stuff. Ky's was made from some fabric scraps I had lying around. I think I am gonna make a bunch more cause they turned out so cute :) And they were super easy.

I also saw this awesome Camera strap cover from Elizabeth's blog, she found a store that sold them on Etsy. Well, I didn't want to pay the $25 to order one, so I decided to make my own. What a copy cat I am! But, it is SO NICE because when I am out shooting with my big L-lens it gets pretty heavy, so this camera strap is soft and I padded the inside, so it makes it pretty cushy. It just slips on right over your leather camera strap.

I think I am gonna make some and start selling them on my SPC site. But, if you want one right now, just let me know...they are $20 and I have lots of fabric, so just let me know what you are into and want and I can email you pictures of my fabric :)

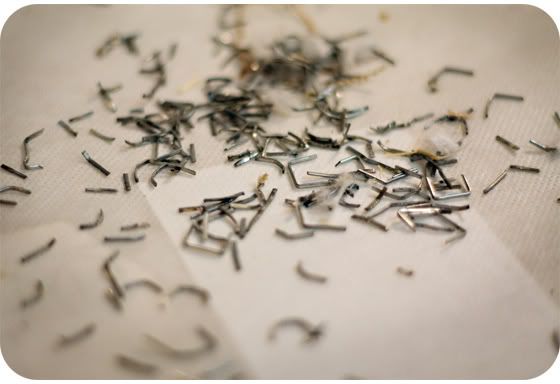
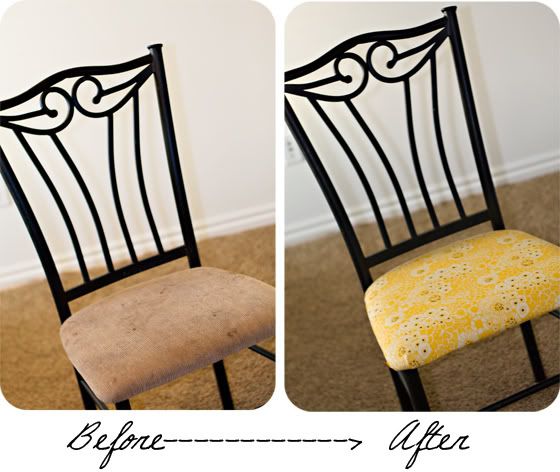
Also, I have been wanting to recover my dining room chairs for about a year now. I am so sick of them being covered in food and stains from my kids. So, I saw this cute fabric at the store the other day and decided to go for it. Plus, Heather you inspired me with your couch recover :) It was actually pretty easy...just a little time consuming. I had to get all the old staples out with some pliers, but 3-hours and a sliver later they were off. Then I just staple guned the new fabric down. I think they turned out pretty cute! We will see how long it takes the kids to destroy these ones. And it was only $8 for the fabric!
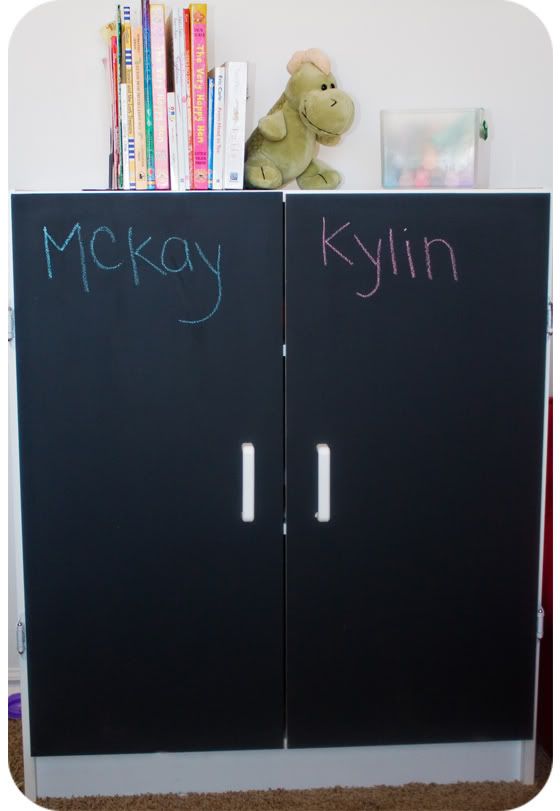
My last project....since we don't have a lot of room in this playroom, there was no room for the kids chalkboard. So, I decided to paint their book cabinet, so now they can draw all over that and they LOVE IT! They have chalkboard paint at Home Depot for only like $10.

So that is what I have been up to...I think I like to be busy. Thank goodness I get to do all these projects when the kids are asleep, or there would be NO WAY I could get them done. Craig & I will just sit and watch a movie and I work on stuff :) Now I just need to work on cleaning my house from all these projects :) hehe.